 Captura.

Click, Drag, and Record.
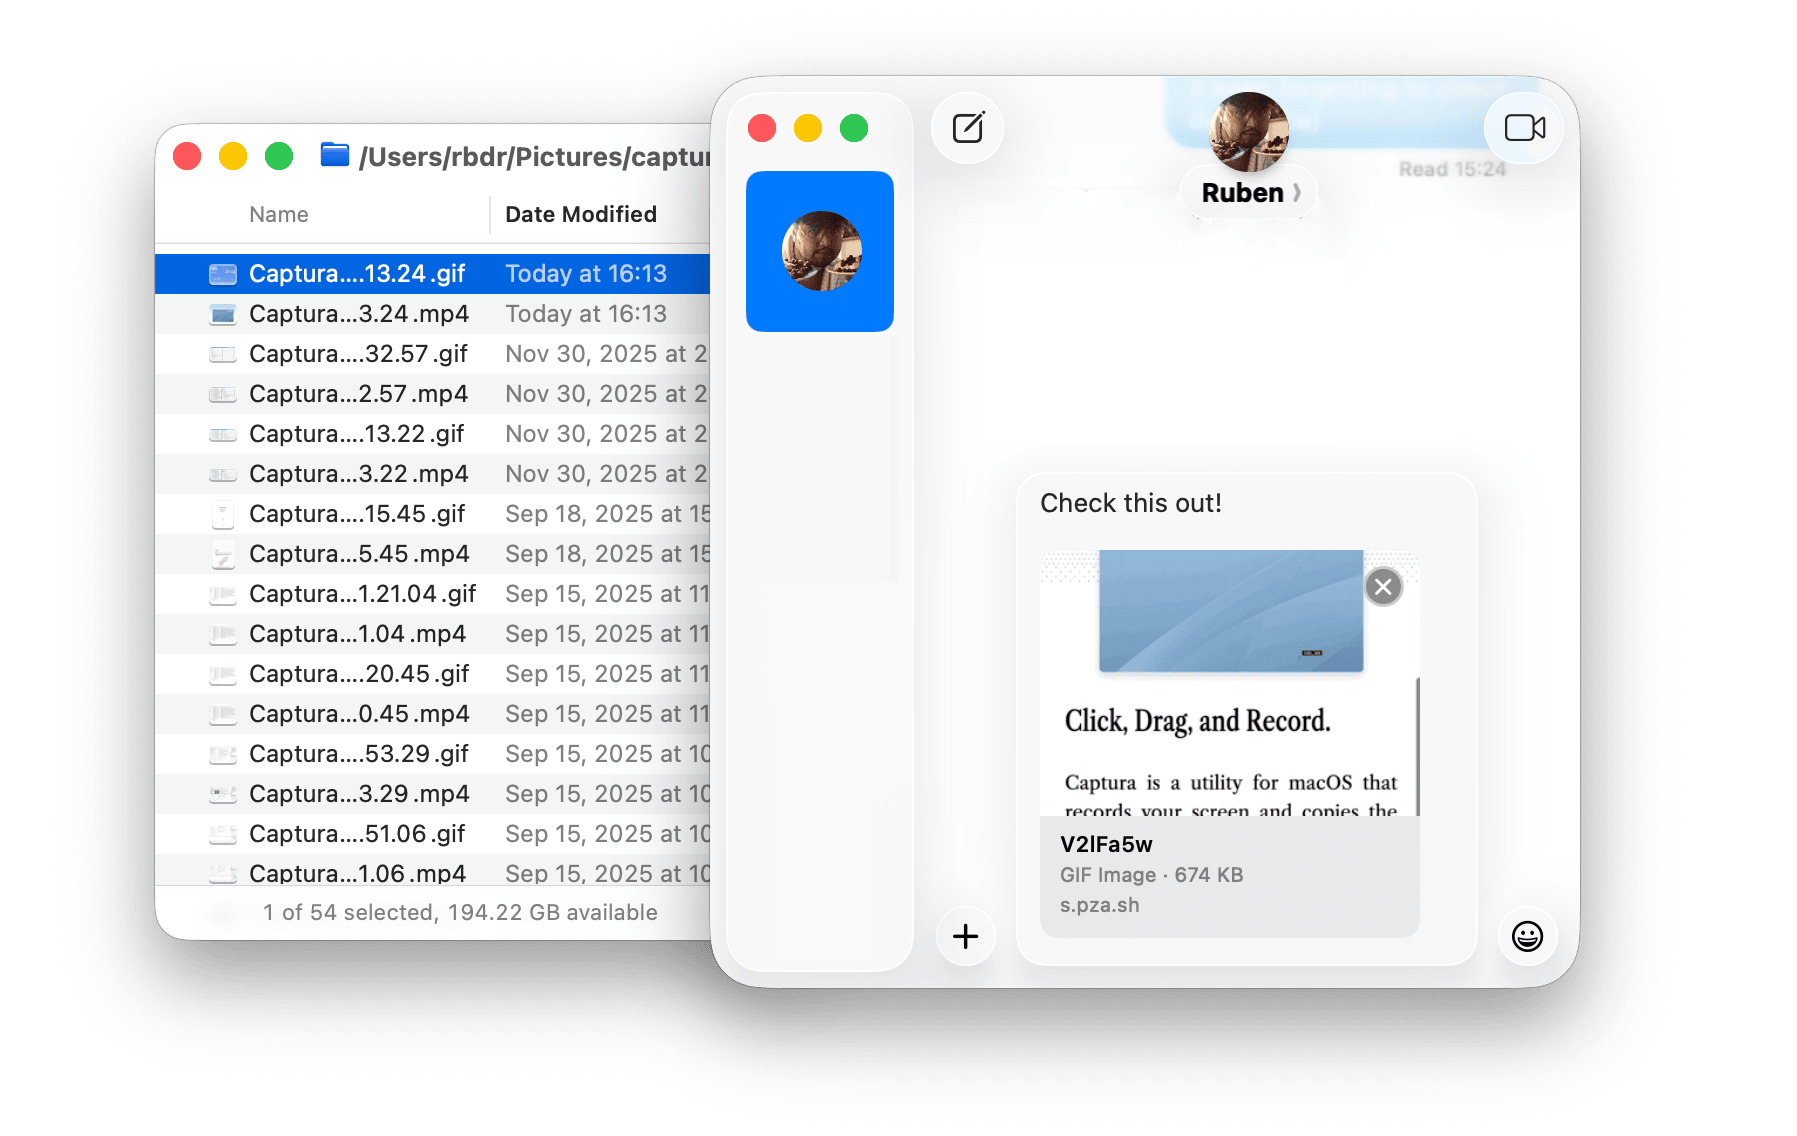
Captura is a utility for macOS that records your screen and copies the result to your clipboard so you can drop it quickly in chats, documents or websites.
Fully Scriptable.
Captura supports automation via AppleScript and a custom URL syntax, which is great to automate recordings for product promos or QA workflows.
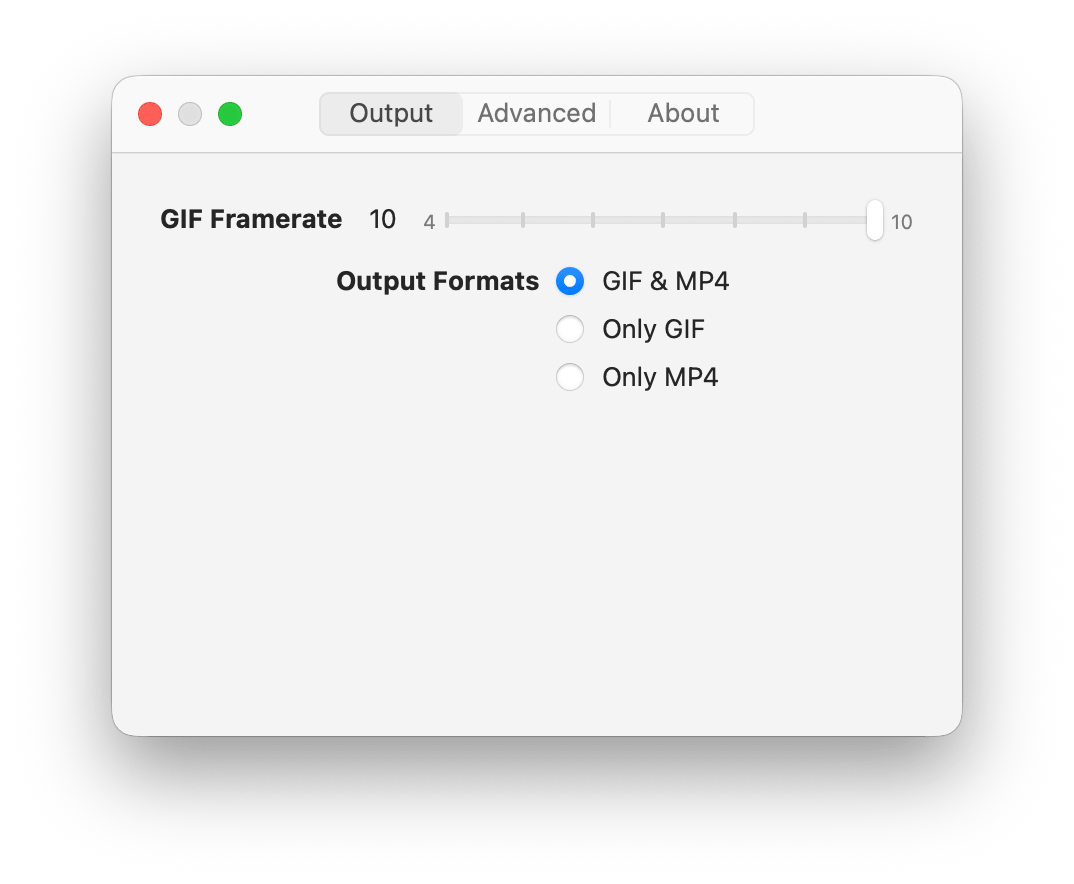
GIF & MP4
 "
"
Choose between GIF & MP4 output, or if you can't decide, why not both?
Free, Free, & Free.
Captura is cost-free, tracker-free, and free/libre software. no subscription, no account, no data collected, and licensed under AGPL 3.0, so it stays free.
Local First.

Your files stay in your computer, so you don't have to worry about your recordings ending up anywhere other than wherever you send them.
Bring Your Own Backend.
Unlock more functionality while staying in control with your own captura backend. Built on a simple protocol, it's easy to get cloud sync across devices, and shareable URLs.